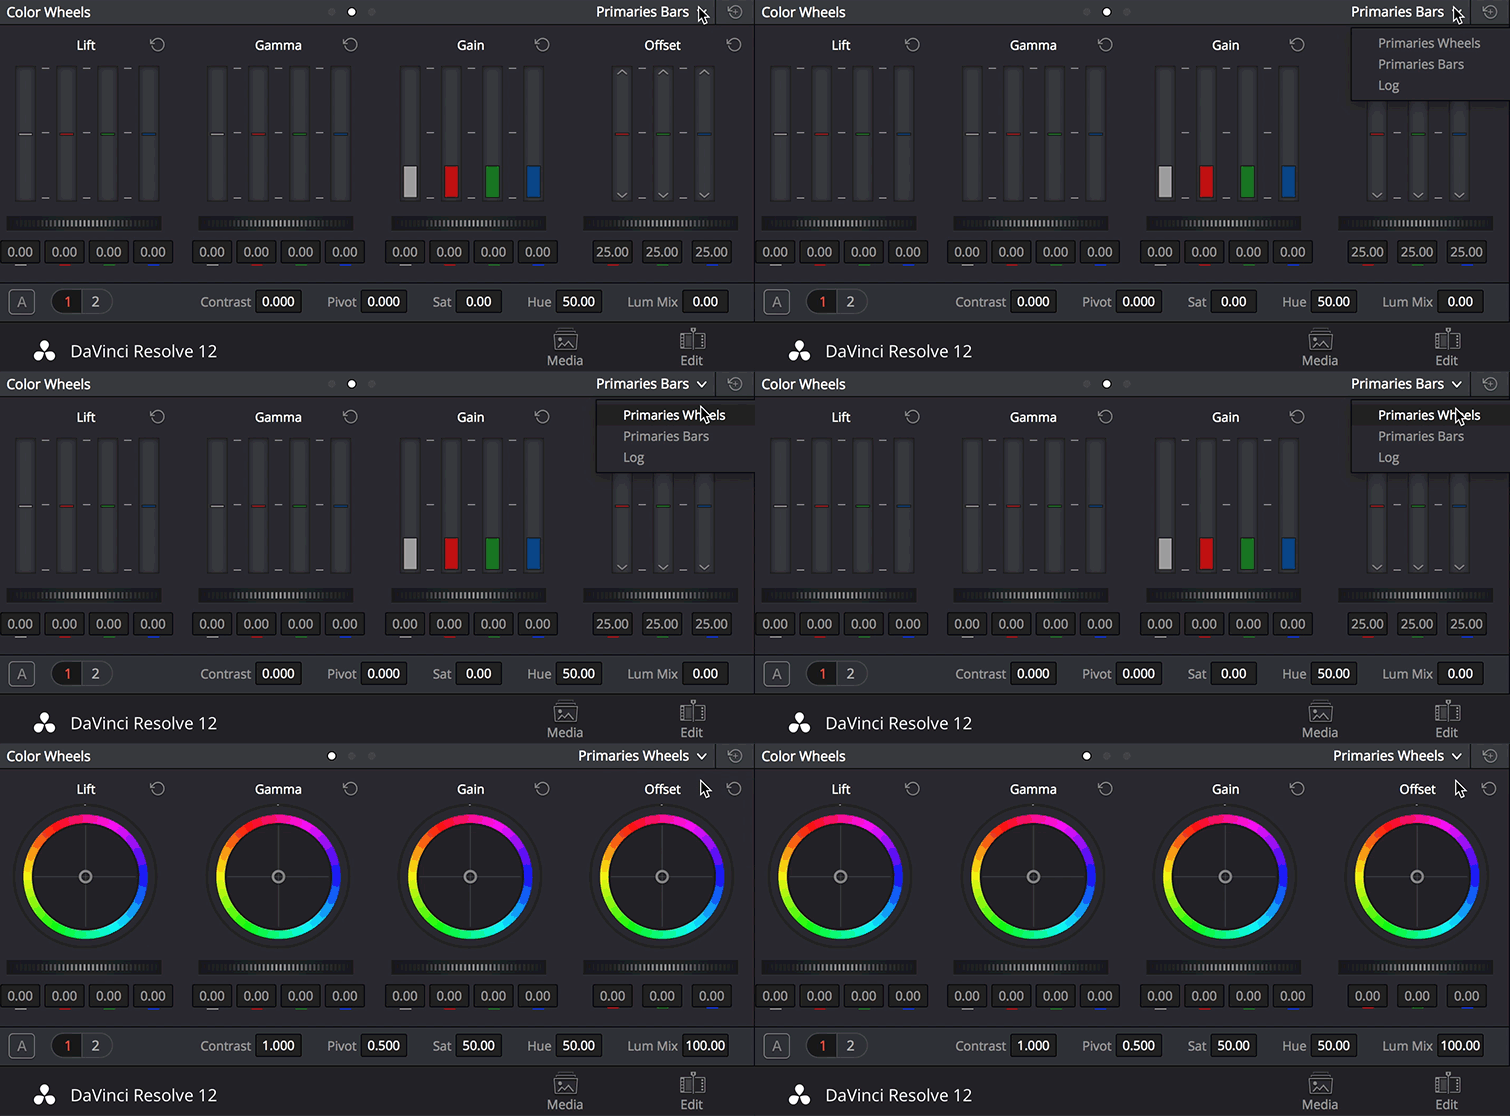
Fixing Color Issues Made Easy with Color Keys in DaVinci Resolve
Top image via Shutterstock
When it comes to color grading footage with mixed color temperatures, things can get quite challenging. You may find yourself in a situation where the footage is well lit and properly white balanced, but there’s a light source in the frame that throws off the color balance.
For example, imagine shooting inside a home with tungsten lights (around 3200K) and a window with daylight spilling through (at 5600K). The window light will appear very blue compared to the warm tungsten lights.
This is just one example of many mixed color temperature issues that can arise. Regardless of the specific issue, the solution always involves three steps.
1. White Balance for Skin Tones

In cases where you have multiple intersecting light sources with different color temperatures, setting your white balance to a specific value won’t work. You’ll need to use your eye to adjust the color wheels until the overall balance feels neutral and the skin tones look natural.
If you’re adjusting your RAW settings and setting white balance numerically, you might end up with a number around 4300 or 4700 — an arbitrary value within the average range of all the lighting sources.
Once you have your balance set and the skin tones looking natural, you can move on to the next step.
2. Color Keys

This step is crucial as it helps you isolate problem areas in your shot. Assuming the skin tones are now natural looking, there’s likely an area in the frame that looks completely off. For example, a window in the background might appear as a vibrant blue color, which is distracting to the viewer.
In DaVinci Resolve, you can use the qualifier tab to select the problematic color in the background. Refine the selection by adjusting softness, symmetry, and other settings until you have perfectly isolated the problem area. Then, use the color wheels to adjust the color as needed. In the example above, you’d want to add warmth to the highlights and midtones and desaturate the overall image.
3. Final Touches
At this point, your image should be looking good. The skin tones should remain the same as in step one, but now the window light (in this example) has been adjusted to compensate for the color temperature issues. However, you may want to further enhance your footage to ensure everything blends together seamlessly.
When working with multiple color keys, it’s a good idea to create an additional node for overall/global adjustments. This allows you to perform an overall color balance and add your desired style. You can desaturate or warm up the image according to your creative preference. This step ensures any color temperature inconsistencies disappear completely.
Remember, fixing these issues in post will never be as perfect as getting it right on set. Shooting in a controlled lighting environment with a color card or gray card is always the best option and saves time in post.
If you’re shooting your own footage, check out this short clip from Curtis Judd showcasing another useful white balance technique in DaVinci Resolve:


