Take Your Renders to the Next Level with Advanced Lighting Techniques and Post-Production Control
Are you ready to elevate your renders to new heights? Look no further than this cutting-edge tutorial!
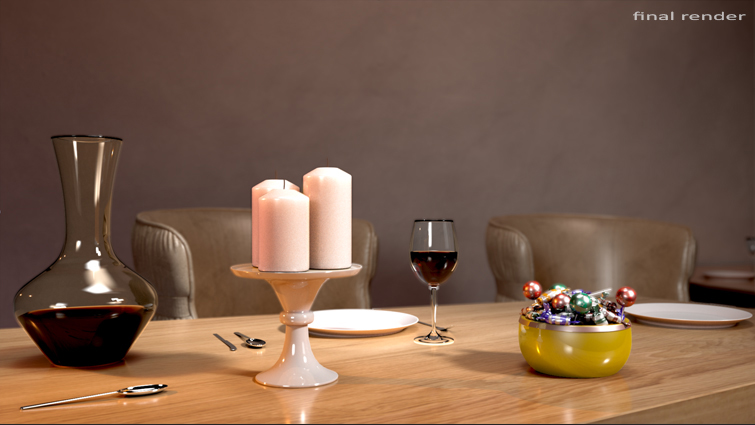
Creating stunning renders involves more than just setting up proper lighting and hitting “publish.” With the right tools and techniques, you can take your work to the next level.
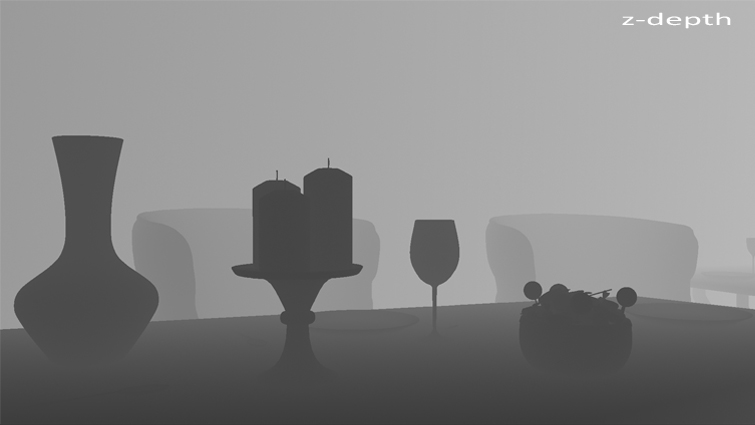
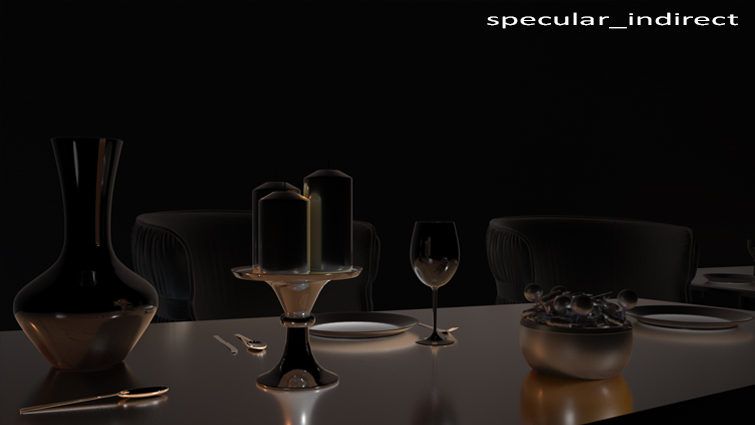
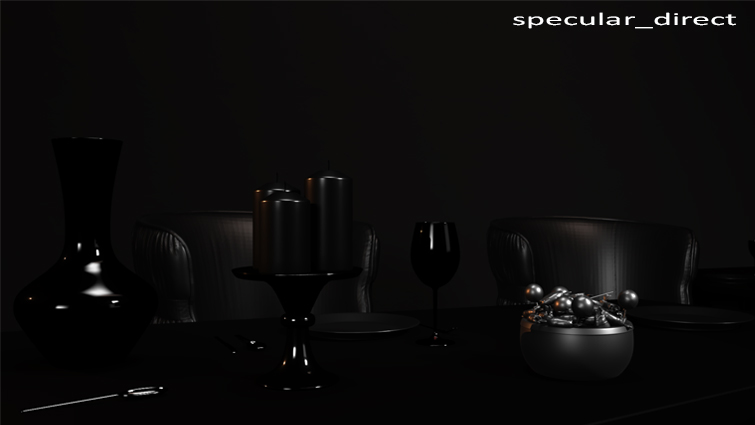
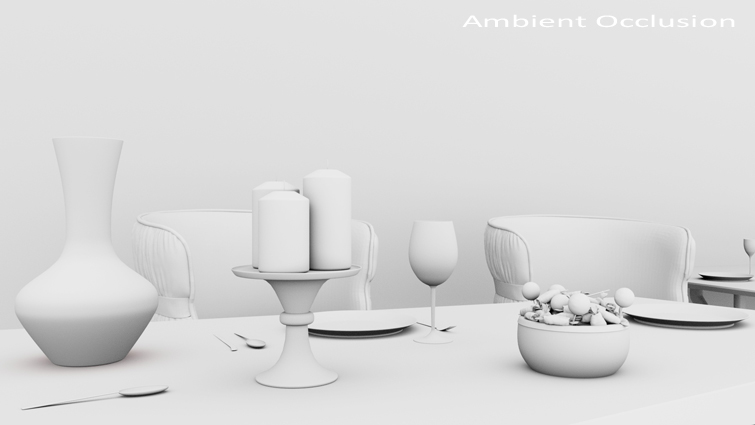
One such tool is render passes, which allow you to isolate specific elements of your scene and make changes as needed. For example, you can adjust specular reflections using the specular_direct or specular_indirect contribution, or add ambient occlusion for more realistic shadows.
But why stop there? With light groups, you can take even greater control over your renders. By rendering lights in specific groups, you can easily adjust their intensity, turn them on and off, or create dynamic effects in post-production.
In this tutorial, we’ll explore the power of light groups using Arnold for Maya. But no matter what software you use, these techniques will help you achieve stunning results.

Ready to take your renders to the next level? Check out the full article above for even more tips and tricks!
Get Your Lights in Order
Creating a new light source in a scene can be a daunting task, but with Arnold Tab, it’s a breeze. You can easily adjust the exposure, color temperature, and more. But what about the AOV Light Group? This is where things get interesting. This feature allows you to create a group of one or more lights and assign them to a specific render pass. It’s like having a secret weapon in your arsenal.
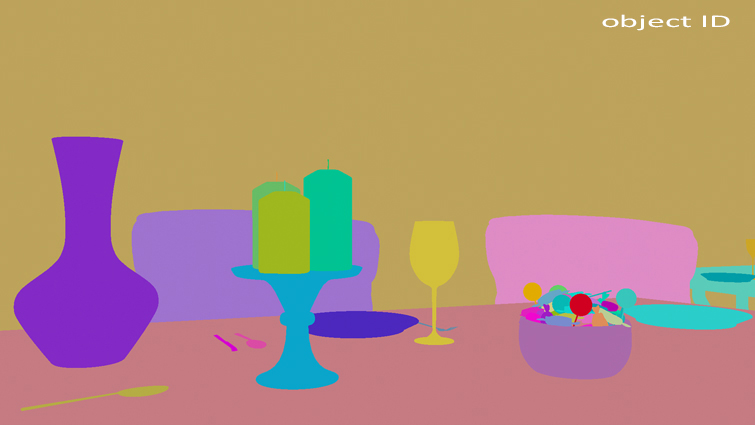
But what exactly is an Arbitrary Output Variable? It’s a fancy term for a specific render pass for a multipass output. You can use it to create passes for diffuse and specular direct/indirect rays, SSS, ambient occlusion, and more. The AOVs tab in Render Settings is where the magic happens.


Now, let’s shed some light on our latest project. We added six new light sources to brighten up the environment. Four mesh lights from the ceiling, one mesh light from the table lamp, and one point light to enhance the pinky color from the table lamp. But how do we organize them?
It’s simple. Each light has an AOV Light Group property that identifies the group it belongs to. We created two groups: one for the ceiling lights and one for the lamp lights. We named them “ceiling” and “lamp,” respectively.


A Simple Setup for Light Groups
Here’s how to set up your light groups:
- Open the light list in your program and select the six lights you want to group.
- Fill the AOV Light Group property with an arbitrary name for each group. We chose “ceiling” and “lamp.”


Next, open the AOVs tab and create two new render passes named RGBA_ceiling and RGBA_lamp. The prefix “RGBA” means you want the whole output plus the alpha channel. This will output two render passes to manage separately. With the magical word “RGBA,” you’ll get a beauty render for every light group.

Blend Your AOVs
Get ready to bring your renders to life! After all the hard work you put into setting up your scene, it’s time to render your masterpiece. Arnold will create a stunning Beauty render, along with a few images that showcase the different light groups. Take these images into your favorite compositing software, like Photoshop or After Effects, and start editing.
In the first image, you’ll see the “lamp” light group in action. We’ll blend this with the following layer to create a switch effect, allowing you to change the light and color intensity. We’ll use the linear dodge blending mode in Photoshop to achieve this. And the best part? We captured everything within each layer, including shadows!
But why stop there? Let’s experiment with more light groups and add two additional light sources to the scene. This time, we’ll create three light groups: “lamp_group” for the table lamps, “top_light_group” for the ceiling lights, and “laptop_group” for the soft light produced by the laptop screen. Render out each light group separately to achieve the perfect lighting effect.
In the end, you’ll have a stunning render that showcases your hard work and attention to detail. So go ahead, use the arrows below to switch the lamp on and off, and see the magic for yourself!Check out this amazing room with its incredible lighting setup! The image shows a new light group, including two offscreen light sources on the ceiling. But that’s not all – there are nine light sources in total, including mesh lights on the ceiling and for the lamp, point lights to reinforce the table lamp spread and intensities, and an area light on the laptop screen. Plus, there are four light groups that can be switched on/off and animated in compositing.
If you’re interested in animating light groups in After Effects, this tutorial is for you. By importing four static frames and applying the Exposure Effect to animate their light intensities, you can create a dynamic shot from static frames. The blending mode, set to Screen, allows you to obtain the right mix between the light groups. The four static frames are translated from left to right to simulate a sort of camera movement.
The tutorial takes you through the sequence, which starts from a completely dark shot and gradually reveals the details throughout the room. The lamp group and back light group have flickering effects, while the light source from the laptop group appears and disappears. At a certain point, the lamp group goes out, and the remaining groups decrease their intensities to very low values. The laptop group flickers a bit and closes the shot.
This tutorial shows you how, from single frames and light groups, you can create many dynamic situations that you can properly manage through compositing. If you found this article useful, follow the author on their LinkedIn page for more great tutorials!
Other Articles

Top Stock Video Sites for Video Editors
Sound Editing Versus Sound Mixing: Understanding the Distinction


